| Key Points | Details to Remember |
|---|---|
| 🍄 Necessary Equipment | Gather substrate, mycelium, and suitable container before starting |
| 🌡️ Ideal Environment | Maintain constant humidity (80-95%) and temperature (18-24°C) |
| ⏳ Growth Cycle | First harvest in 3 to 4 weeks after inoculation |
| 💧 Daily Maintenance | Mist twice a day without soaking the substrate |
| ⚠️ Contaminations | Detect early green or black molds |
| ✂️ Harvesting Technique | Cut clusters close to the substrate |
| ♻️ Second flush | Possible new harvest after soaking the block |
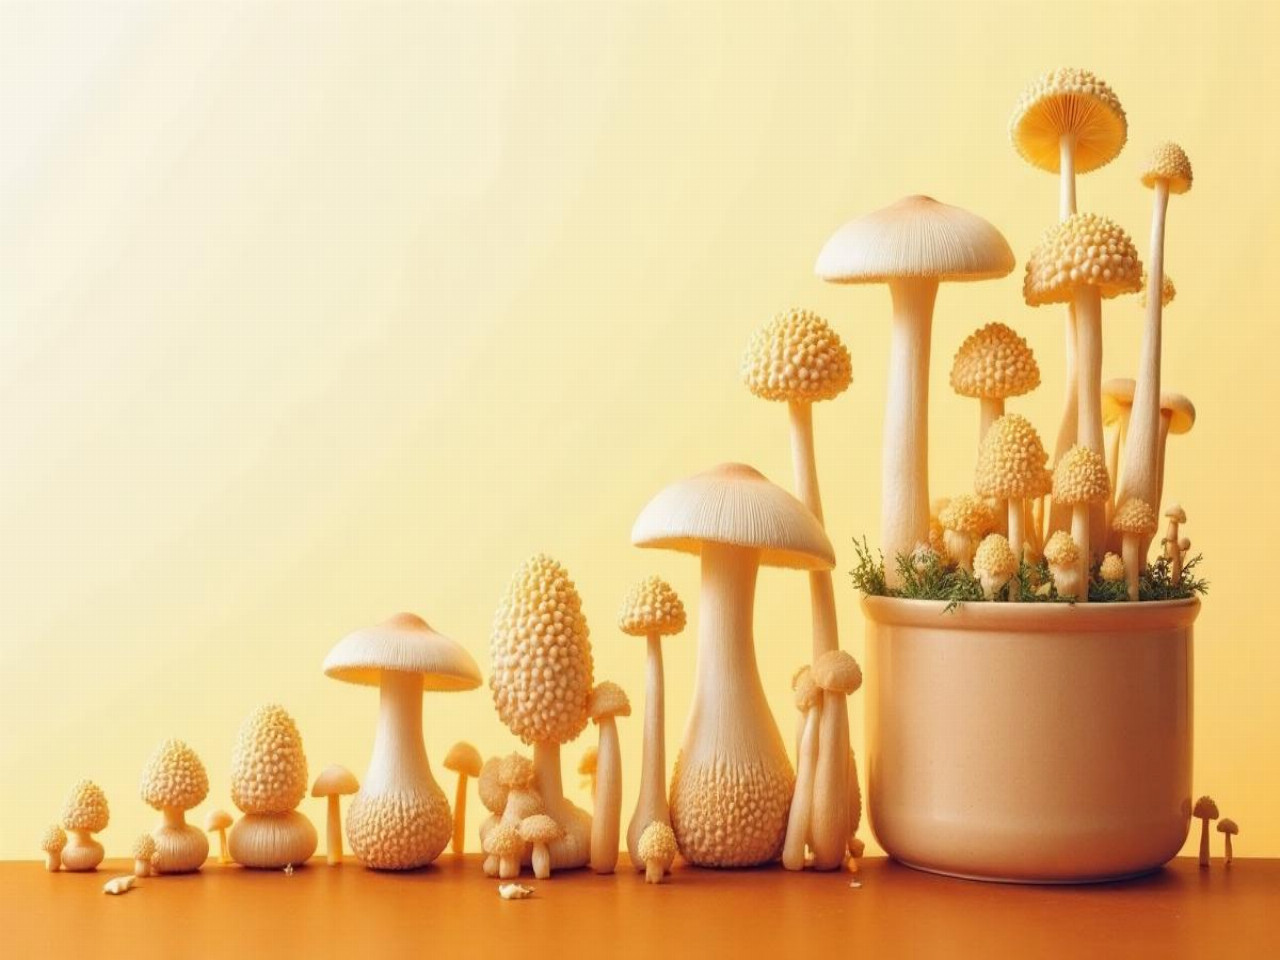
Watching your own mushrooms grow in your kitchen provides a rare satisfaction. Oyster mushrooms, with their spectacular growth and elegant shapes, offer an ideal entry point into home mushroom cultivation. Contrary to popular belief, their cultivation requires neither a cellar nor sophisticated equipment—a corner of your living room is enough. This guide details every step to transform your space into a mini urban farm, from substrate preparation to juicy harvest. Ready to become the farmer of your own gourmet mushrooms?
Sommaire
Why choose oyster mushrooms to start?
Among the hundreds of edible species, oyster mushrooms (Pleurotus ostreatus) have three decisive advantages for beginners. Their vigorous mycelium quickly colonizes substrates, resisting variations better than delicate species like shiitakes. Their thermal tolerance is remarkable: they accept temperatures between 12°C and 25°C without growth interruption. Finally, their fruiting speed impresses—less than a month between seeding and first harvest under optimal conditions. An INRA study shows that 87% of attempts succeed on the first try with ready-to-use kits.
Essential equipment: less than you think
Contrary to popular belief, no sterile laboratory is needed. The basic equipment fits in a kitchen corner:
- Substrate: Coffee grounds previously pasteurized, chopped straw, or hardwood sawdust
- Mycelium: Inoculated grains (available online or in specialty garden centers)
- Container: Microporous cultivation bag, plastic bucket, or glass jar
- Fine mist sprayer for daily humidification
The choice of substrate directly influences your yields. Coffee grounds, rich in nutrients, accelerate colonization but require impeccable hygiene. Wheat straw, more economical, requires prior pasteurization at 65°C for 90 minutes. As for sawdust pellets, they offer an ideal aerated structure but require a nutritional supplement like wheat bran.
Where to get the mycelium?
Prefer specialized suppliers rather than large retailers. Quality mycelium has a uniform creamy white color without brownish or greenish spots. Check the production date—a mycelium older than two months loses vitality considerably. Some local producers now offer strains adapted to domestic conditions, such as the particularly resistant “Blue Dolphin” variety.
Setting up your cultivation space
The location will determine 70% of your success. Oyster mushrooms require high atmospheric humidity (80-95%) but dislike stagnant water. A bright bathroom or a well-ventilated kitchen is perfect. Avoid cellars that are too cold and overheated attics. To maintain humidity without a humidifier, place your culture on a bed of moistened clay pellets in a shallow tray.
Low-tech climate control
No need to invest in professional equipment. A simple digital thermometer-hygrometer (under €15) is enough to monitor parameters. When the air becomes too dry—common in winter with heating—cover the container with a perforated plastic bag or a non-airtight lid. This “humidity tent” maintains a favorable microclimate. Lighting? A simple north-facing window or a cold spectrum LED lamp for 6 hours/day meets their photosynthetic needs.
Inoculation: step-by-step technique
Here is the foolproof method to start your culture:
- Pasteurize your substrate by immersing it in water at 70°C for 45 minutes
- Drain until it is moist but without residual water (hand test: only a few drops)
- Mix the grain mycelium into the substrate at 5-10% of total volume
- Place in the container, pressing lightly without compacting
- Pierce the bag or cover the container with a non-airtight lid
“The classic beginner mistake? Too dense inoculation. Mycelium needs space to breathe during colonization,” emphasizes Marc Dumont, professional mushroom grower.
The incubation phase: patience required
Place your culture in darkness at 20-24°C for 10 to 15 days. A white web progressively develops—that is the mycelium in action. Resist the urge to open the container! When the substrate is fully colonized (uniform white), expose it to indirect light and lower the temperature to 16-18°C to trigger fruiting. “Pins” (small buds) then appear within 3 to 5 days.
Daily maintenance: lifesaving actions
From the appearance of primordia, humidification becomes critical. Mist lightly 2 to 3 times a day with non-calcareous water, aiming at the walls rather than directly on the mushrooms. Excess causes brown spots and promotes bacteria. Briefly ventilate the room each morning to renew CO2—oyster mushrooms consume surprising amounts during their exponential growth.
Detecting common problems
Your culture speaks to you if you know how to observe:
| Symptom | Likely Causes | Solutions |
|---|---|---|
| Mycelium turning black | Excess moisture or lack of air | Reduce misting, ventilate |
| Wine-like odor | Bacterial contamination | Isolate culture, discard if persistent |
| Deformed caps | Lack of light or excessive CO2 | Move near a window |
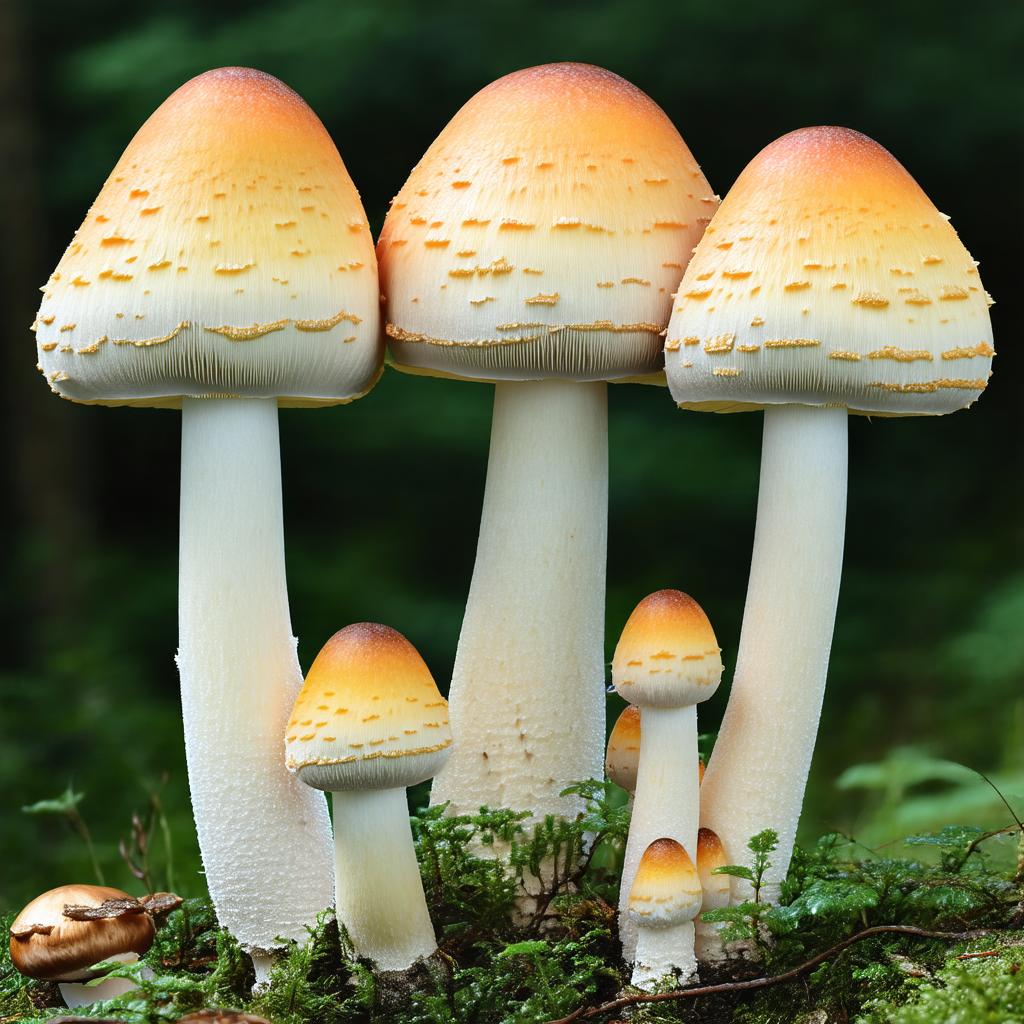
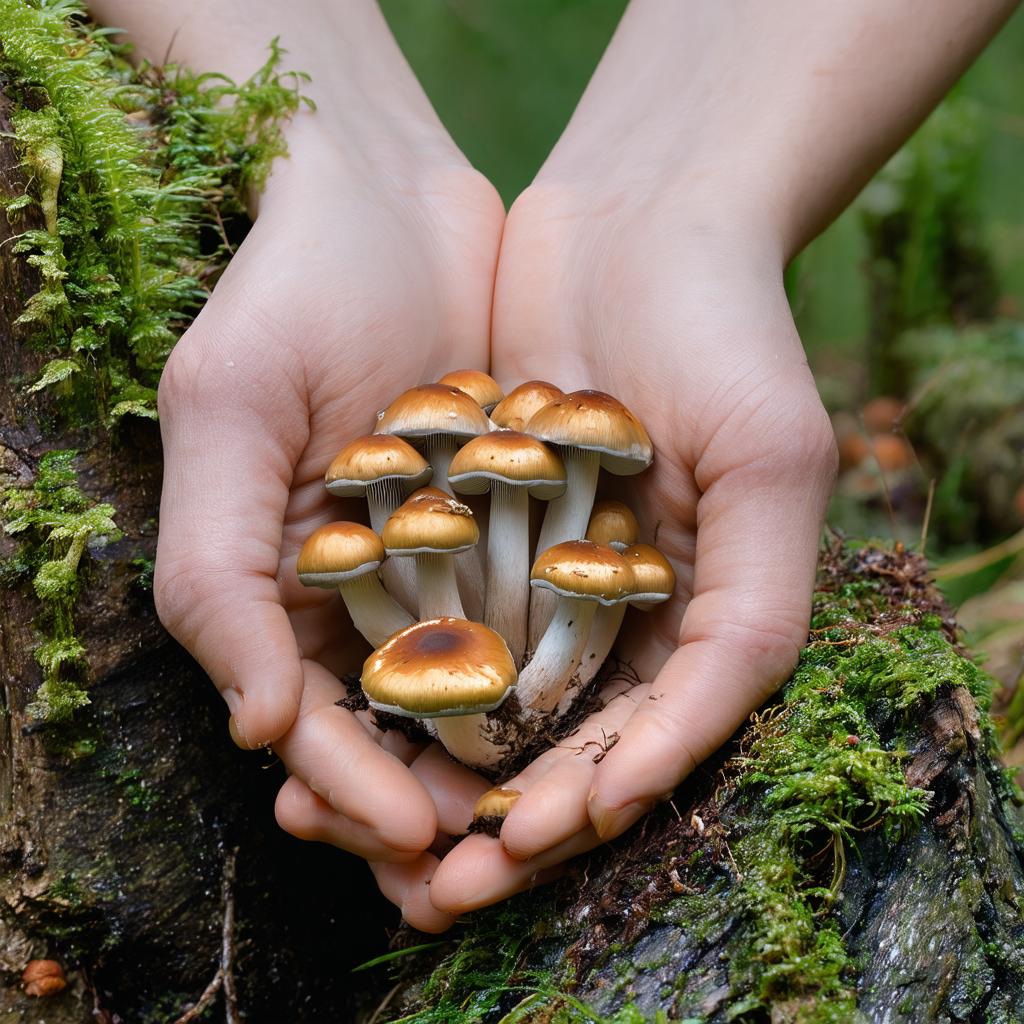
Harvest: when and how?
The ideal moment occurs when the edges of the caps change from convex to concave—usually 5 to 7 days after their appearance. Use a sharp knife to cut the entire cluster at the base, without tearing. This technique preserves the mycelium for a possible second harvest. A well-maintained block produces 200 to 400g of oyster mushrooms per cycle.
Inducing a second flush
After harvest, soak the cultivation block in cold water for 4 to 6 hours. This “water recharge” simulates spring rain, stimulating new fruiting. Gently wring out then replace under initial conditions. This technique allows up to three harvests spaced two weeks apart, with decreasing but significant yields.
Storing and cooking your harvest
Consume your oyster mushrooms within 5 days to enjoy their firm texture. Stored in a paper bag in the fridge, they retain their taste qualities for a week. Unlike wild mushrooms, home-grown ones can be eaten raw in thinly sliced carpaccio. In a pan, their umami flavor fully expresses after quick cooking over high heat—avoid boiling which makes them rubbery.
If the adventure has intrigued you, know that other species like shiitake or maitake adapt well to home cultivation. For varieties with adaptogenic properties, specific documentation exists regarding their cultivation methods and therapeutic applications.
FAQ: Your questions about oyster mushroom cultivation
How much does a first cultivation cost?
The initial investment ranges from €15 (with recycled coffee grounds) to €40 (complete kit). Each subsequent harvest then costs less than €3/kg.
Can you cultivate in an apartment without a balcony?
Absolutely! Oyster mushrooms only need 0.5m². A shelf in a living room is sufficient.
What to do in case of green mold?
Immediately isolate the contaminated block. If the mold covers more than 30%, discard everything. Below that, remove the affected part with a sterilized spoon.